COURSE CURRICULUM
In this course, we will be using a software for 3D modeling for kids, called “Tinkercad”.
First, we will learn the basic moves, e.g. how to move around in the 3D environment, how to create basic shapes in the 3D environment, and how to move them.
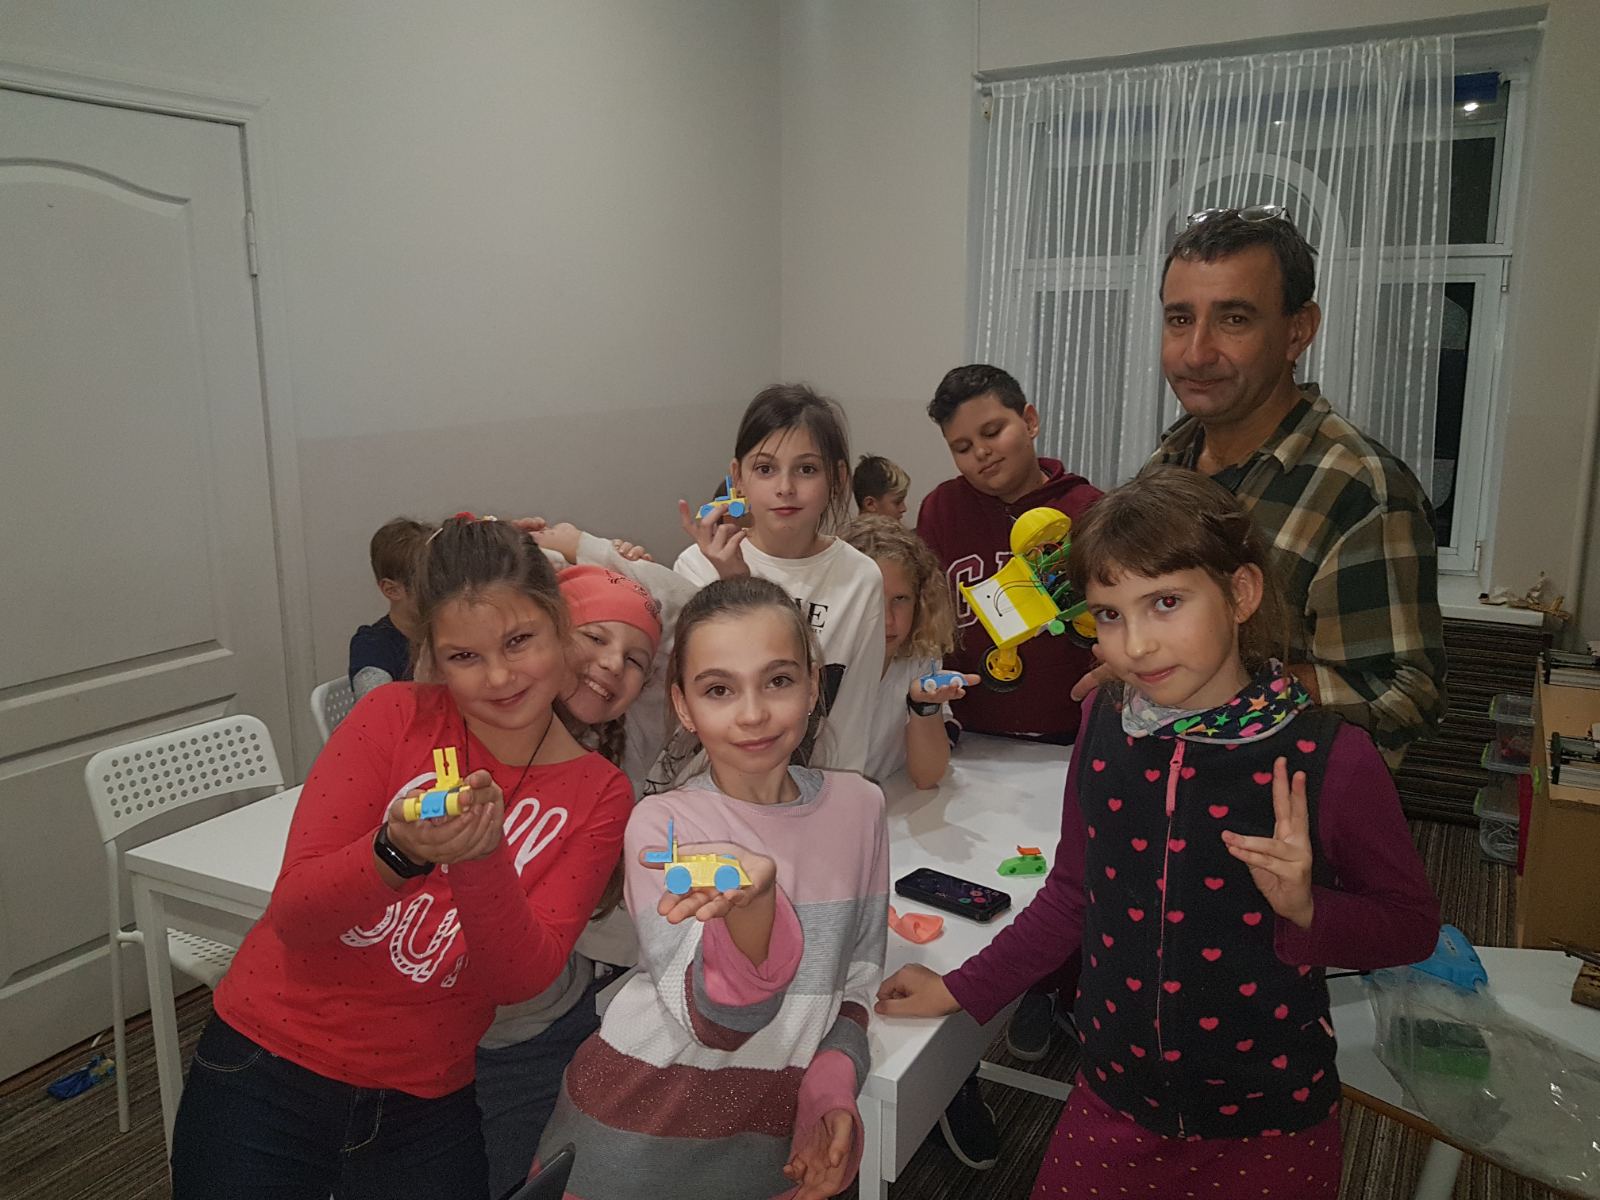
Then, we will continue learning Tinkercad by engaging in simple 3D modeling projects. A very popular one among the beginners is making a nametag for oneself, or one’s friend. Once this is modeled, we will 3D print these, and students get to take all their work home. For example, in this video you can see my students’ nametags being printed at British International School:
Once students learn to make simple projects, we go on to more complicated ones, such as making “Steve” from “Minecraft”, a pirate ship, a castle, etc.
In the process, students will become familiar with measuring things, in order to print them, as the physical size needs to be given in order to model something for 3D printer.
Once we master these basics, we can start to add electricity to our projects. For example, in this video, 4th grade advanced students at Ramaz school are adding 9 lights to the menorah light which they 3D printed.
Modeling of the electrical and electronic components will be done through Tinkercad as well.
After students become familiar with electricity, we will learn about programming our created 3D models in Arduino, which is a type of C++ language.
Students get to take all their creations home.

